
As your kids grow up, their style and bedroom changes. So why not do a kids bedroom makeover using things you already have? My kids love it when “Mommy the Home Stager” cleans up and updates the look of their room. I don’t do it often but sometimes you need to change things up a bit. You can do this over a weekend using items you probably have around the house. Let me show you what I did to three bedrooms all over one weekend. It took me about an hour to do each kids bedroom makeover and you can too. Here is what you need to do.
 The first thing I did was remove anything that I knew would not stay. I had a trashbag ready and found so many pieces of wrappers, crumpled papers and more that it immediately went into the trash. It was also amazing how many things were under the bed! So I cleaned that out as well. Since we have a playroom, there was no need to have excess toys in the bedroom. All of these items were pushed out into the hallway. I then had the kids find another “home” for those toys or start a donation pile.
Remove excess items like toys
This is what the room looked like before. It had a lot of clutter on the floor and on the walls.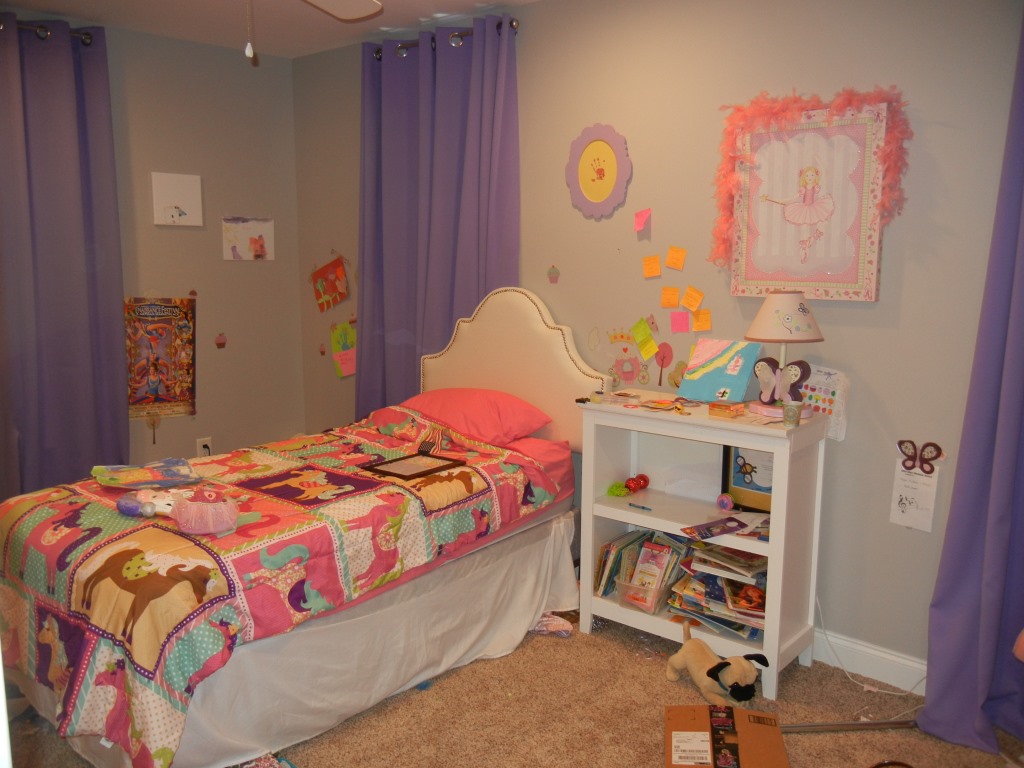 The first thing I did was remove anything that I knew would not stay. I had a trashbag ready and found so many pieces of wrappers, crumpled papers and more that it immediately went into the trash. It was also amazing how many things were under the bed! So I cleaned that out as well. Since we have a playroom, there was no need to have excess toys in the bedroom. All of these items were pushed out into the hallway. I then had the kids find another “home” for those toys or start a donation pile.
Bed location
Once the trash was removed, I moved onto the location of the bed. The bed is probably the biggest piece of furniture they will have so it’s important to find a place for it. In this particular room, the twin bed was right in the middle. I decided to move it into the corner because between the left side of the bed and the wall, toys and junk just accumulated in there. It was a catch all and you couldn’t really see it until you walked up to it. It was a nice hiding spot for the kids to store their junk but didn’t make me happy because I am a neat freak. So the bed was repositioned along the wall. This was fairly easy to do because it was just a headboard and a bedframe.Add/Remove furniture or accessories
Once the bed was moved, I decided to put the bookcase at the foot of the bed to act like a footboard. Some books were removed/donated while the rest were arranged in a bin or on the shelf for easy access. I then moved the bear so it could act like a cushion for a reading nook. The toy chest was kept and put under the window to pull double duty: 1. to act like a nightstand and 2. to hold extra blankets and a place for the radio. Some of the vinyl stickers were removed and new art was placed above the headboard. Now this room looks bigger by changing up a few things!
Another kids bedroom makeover
Let me share some other kids bedroom makeovers taking the same steps as listed above. This bedroom has the same wall color in Smoke Embers by Benjamin Moore, but decorated using blue and purple colors. The bed was originally in the middle of the room as well so I turned it and centered it between the windows. It now became more of a daybed using pillows. The bookcase was put behind the headboard this time which created a nightstand as well as a reading corner. The shelving unit was moved to the opposite corner of the room and the room looks bigger already!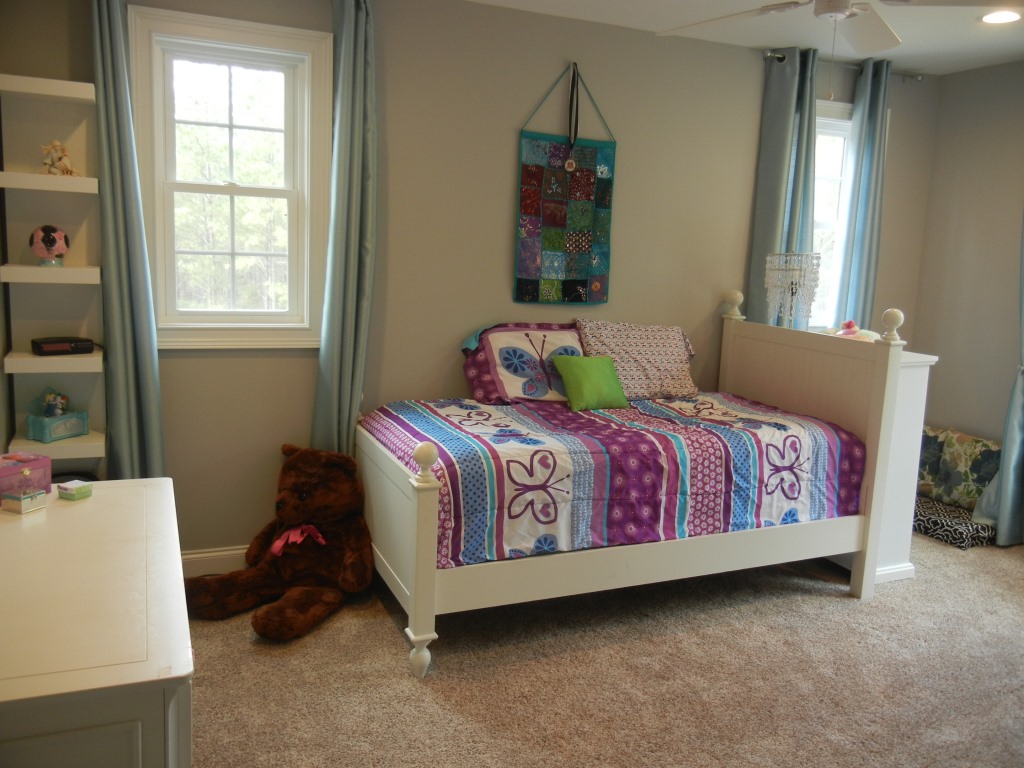
From kids to teenage bedroom makeover
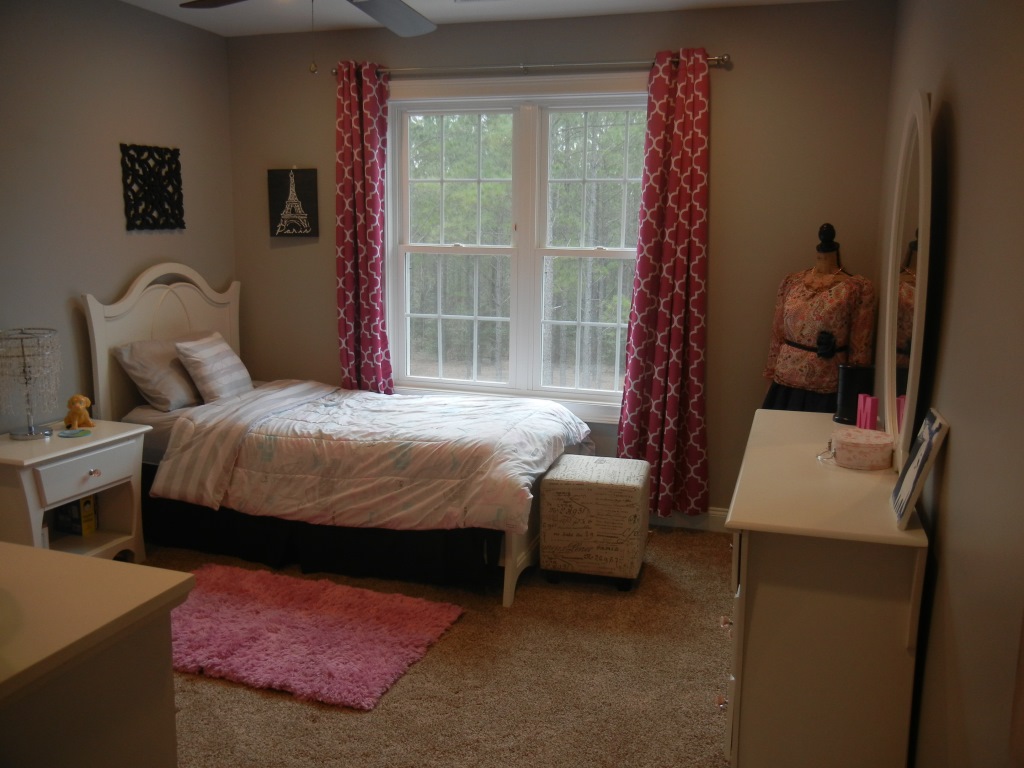
This bedroom belongs to a teenager who loves anything to do with Paris. But much like a city, the room felt too crowded. By simply switching the bed and the dresser to the opposite walls, the room felt bigger. The bookcase was moved to another wall and the mannequin found a spot in the corner. Art was hung over the bed which was found around the house and clutter on the dresser was banished. By changing locations of some furniture pieces, you completed your kids bedroom makeover in no time!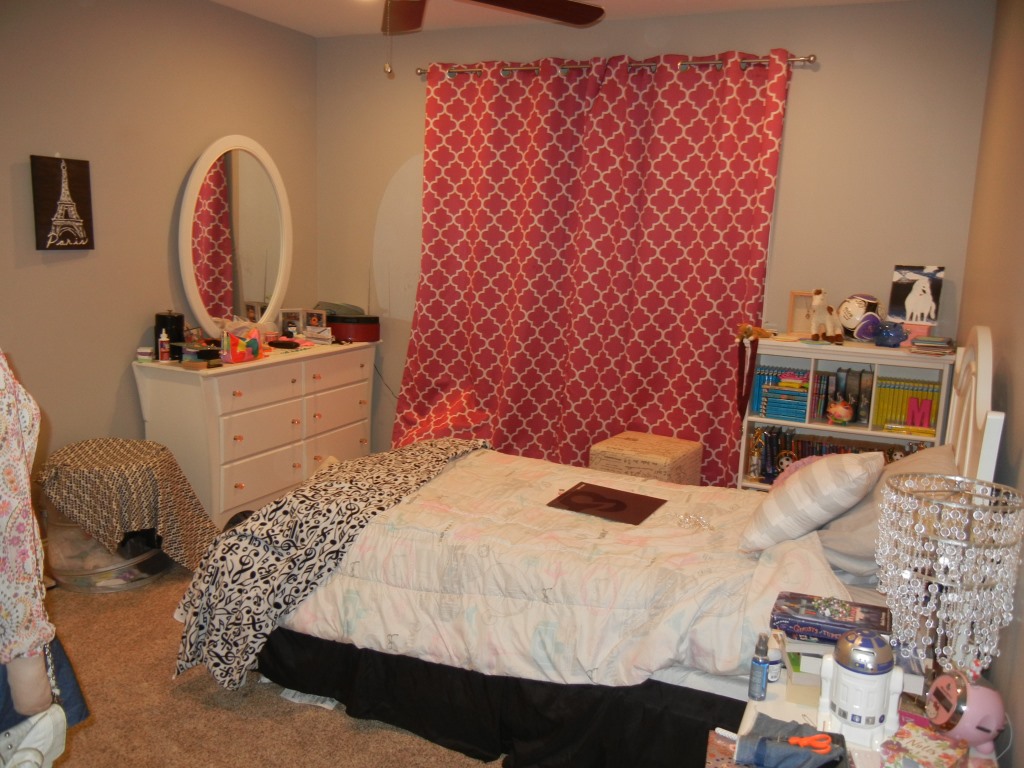
If you find yourself in need of a kids bedroom makeover, consider these easy steps. If you want to update the wall colors, furniture and layout consider calling me to help you decide the next phase in your life.